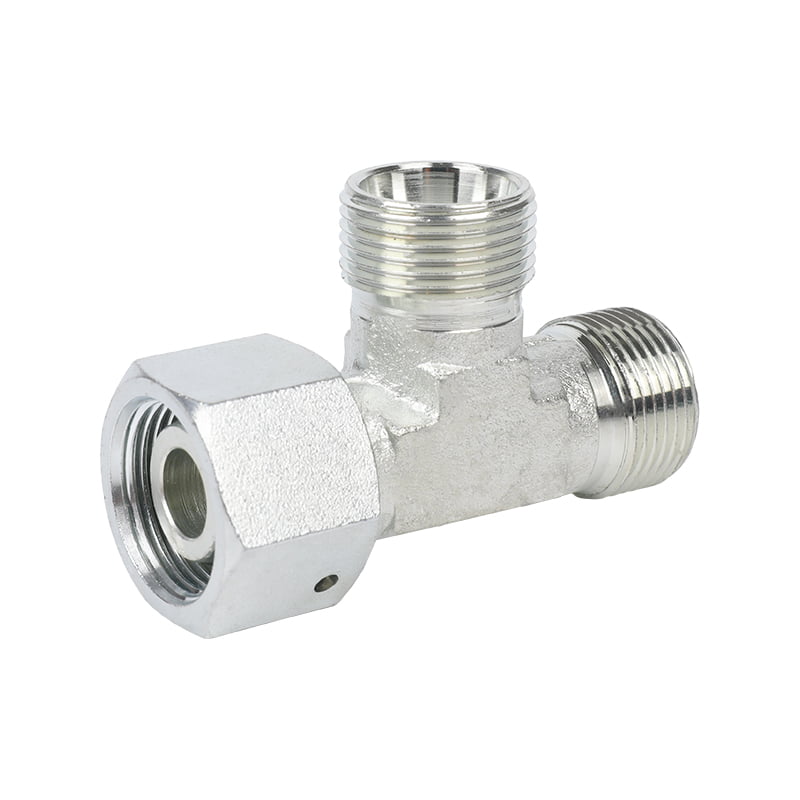
How do you install and remove hydraulic adapters properly and safely
Author:admin Date:2023-03-09
Installing and removing hydraulic adapters properly and safely requires following specific steps to avoid damage to the system and injury to the user. Here are the general steps for installing and removing hydraulic adapters:
Installation:
1.Gather the appropriate tools and equipment, including the adapter, a wrench, and hydraulic oil.
2.Turn off the hydraulic system and release any pressure that may be present.
3.Clean the area around the adapter to prevent contamination.
4.Place the adapter into the fitting and tighten it by hand until snug.
5.Use a wrench to tighten the adapter to the recommended torque specification, ensuring that it is not over-tightened.
6.Check for leaks and test the hydraulic system before resuming normal operation.
Removal:
1.Turn off the hydraulic system and release any pressure that may be present.
2.Use a wrench to loosen the adapter, being careful not to damage the threads.
3.Once the adapter is loose, use your hands to unscrew it completely from the fitting.
4.Clean the area around the fitting to prevent contamination.
5.Inspect the adapter for any damage or wear that may require replacement.
6.Install a new adapter if necessary, following the steps outlined in the installation section.
To ensure safety during installation and removal, it is important to wear appropriate personal protective equipment, such as gloves and safety glasses. Additionally, make sure to follow the manufacturer's instructions and guidelines for the specific hydraulic system being worked on. If you are unsure of how to properly install or remove hydraulic adapters, it is recommended that you seek the assistance of a qualified professional.
RUN TEE FITTINGS WITH SWIVEL NUT CD


 English
 Deutsch


